Thursday, March 24, 2016

Sand Casting with Aluminum

Ok, now this little project is getting real ;-)

We started with the aluminum ingots we'd made a few days ago.  They heated up quickly with much less junk.  We used the same crucible, so most of the junk in the metal was left from our heating the cans and brass cases.  The best part?  Cutting out foam forms!  We picked up a big sheet of foam from the Dollar Store, and with an inexpensive cutter off ebay (foam cutter $2) it was so easy to cut out some arrowhead shapes.  Even some 3D shapes were easy with glue.


We even tried a few 'exotic' arrowheads, including some 3D Fire Cage Arrowheads.

We buried the foam in play sand in a small tupperware bin.

Then we wett'ed the sand, and formed small cones around the foam to pour the aluminum into.  Here are some of the ingots we made last week to melt for the casts.

The ingots heated up quickly, and it was really cool to pour.  Again, because of the thin metal crucible we only got a single pour before the metal cooled too much and wouldn't pour well.

The casts turned out AWESOME!  Identical to the foam cutouts, and small details are in-tact.  We shook the sand well to make sure it settled into each detail.

These are a couple of "bird tip" arrowheads that Mongol archers would use for ducks and geese.

It was easy to cut off the overpour with a grinder and shape / sharpen the arrowheads.

We dropped paper on the overcast to show the kids just how hot the metal was before we pulled them and put them into water.


Unfortunately, the bigger, 3D casts of the Fire Arrowheads didn't turn out.  The metal seemed to have cooled too much to get down into the bottom of the foam mold.

Still, this was so much fun, we all agreed this is worth the effort to melt down cans.  Easy, cheap, and very engaging.  Highly recommend it.  Now we are having fun thinking of all the fun things to make...

Making Metal (part 3) "Going for the Gold!"

Ok, with a working kiln of fire bricks, we thought we'd try something a bit more difficult than Aluminum and Lead.  We had a bunch of 22lr brass we'd picked up when out plinkin' in the woods, and thought it would be fun to melt down some brass ingots.

Aluminum melts at ~1200*F, and brass at ~1500*F so this is going to take a bit more heat.


The brush torch got plenty hot.  Nice thing is we can crank up the heat fast and easily with it.  You can see the brass in the pot.  The pot was hot!  Most of it was 22lr, with a few 45 and 9mm cases.

Before long (~10 min) the brass was a gooey mess in the opt.

Again we put in some Boric Acid (from Dollar Tree) to help separate the junk from the metal.  It burned green, and foamed up in the pot.

The ingot was cool!  One drawback with our propane bottle crucible is that the thin metal cooled really fast, and we had to pour quickly before the metal inside cooled too much to flow well.

Again, there was a lot of foamy junk in with the brass we had to skim off.  Some of this was from the aluminum, too because we were unable to clean out the pot completely before doing brass.  Next time we'll have different crucibles for the different metals.

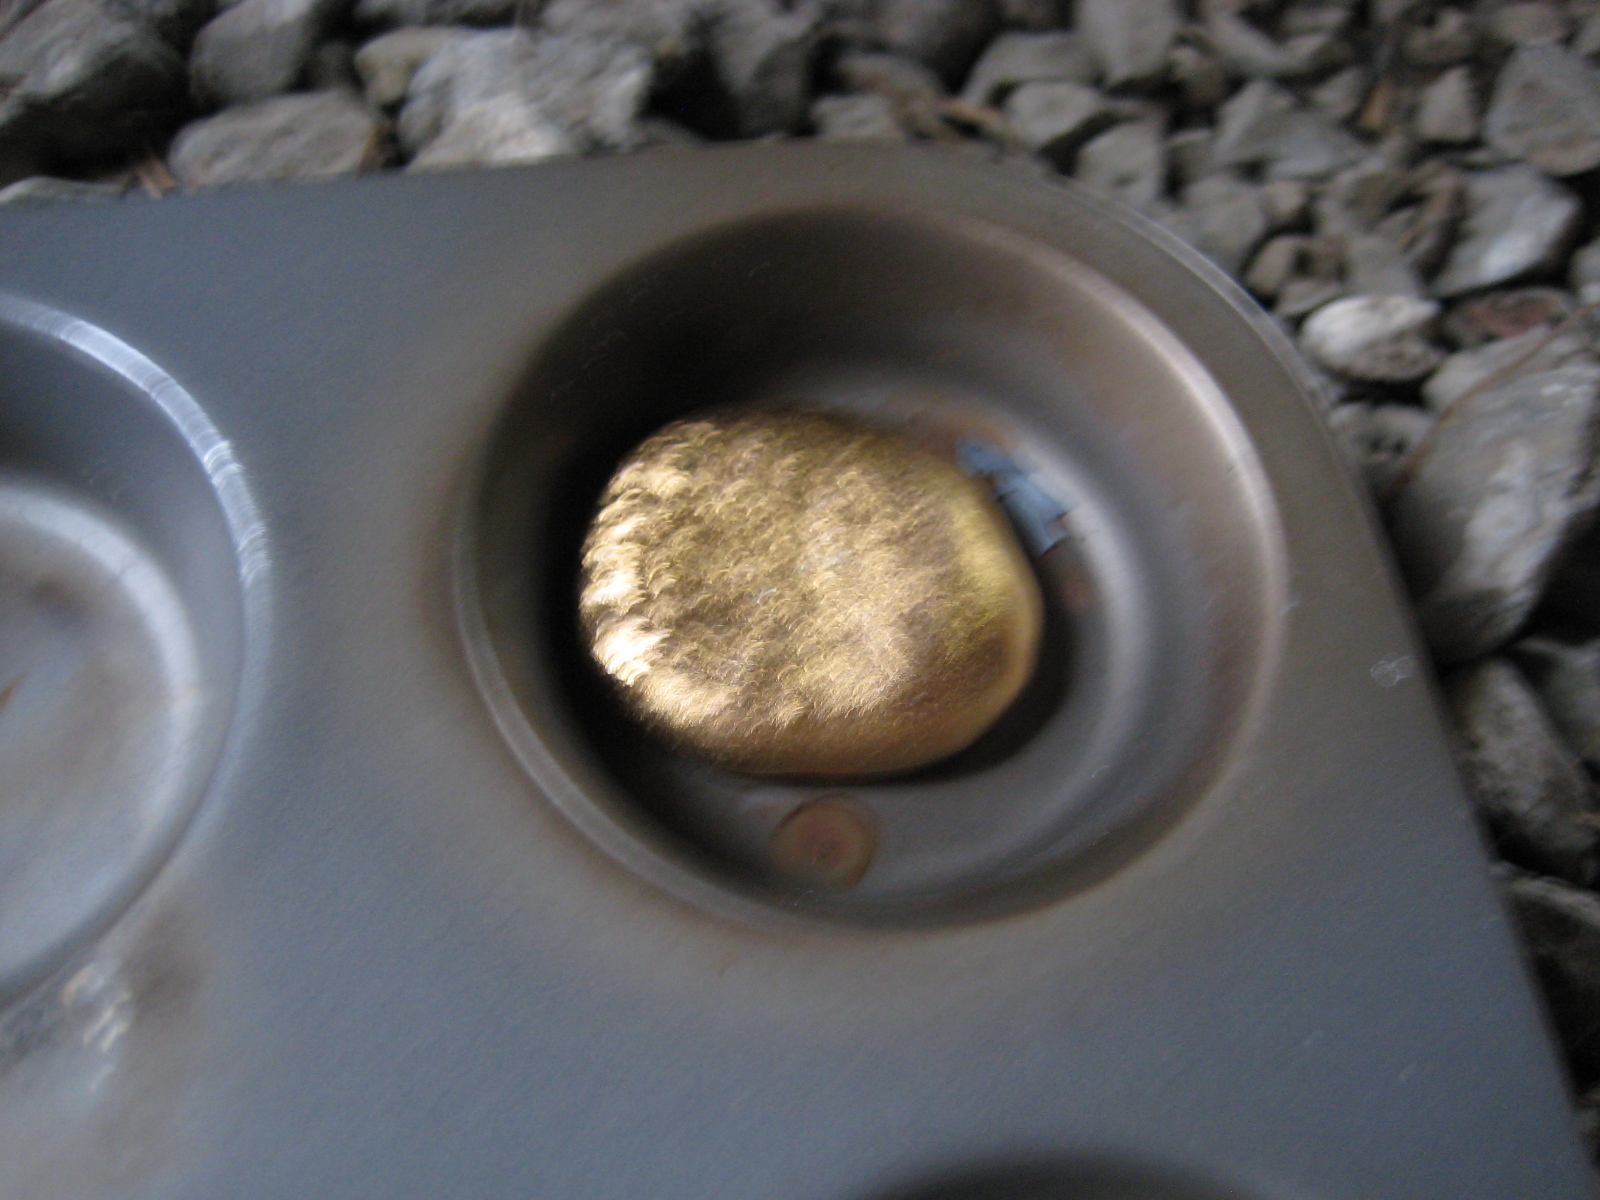
There wasn't a lot of brass when it was all finished.  Then again, we only started with 2 big handfuls of 22lr brass, so the yield was ok.  And the price is right.  Sure looks perdy, too.  Wouldn't it be fun to scatter small pieces of this in a stream or mountain brook?  We could start another gold rush ;-)

Smelting down cans and brass is great fun, and very engaging with teenage boys.  The results are fun too... but now we are ready for making something out of this mess.  Stay tuned...

Makin' Metal (part 2) "Turning up the Heat!"

So this time we bought some fire bricks, and pulled out the weed-burning propane torch.  This was the way to go!  We need something a little more fixed and secure - the bricks were just stood up on end and were a bit shaky... but it got HOT.

Feeding the cans in was quick.  A brick on top really made a significant difference, too.

In minutes the kiln got very hot.  Our welding gloves warmed up fast.

Again, the ingots turned out nice.  If you zoom in you can see the crystaline structures on the surface of the ingot.  We used a bigger muffin tin for this pouring, too.

Again, melting down cans left a bunch of junk.  We did a lot to skim off the junk from the top before pouring the ingots.  Keeping a bucket of cold water handy was useful and our safety precaution.

Our next step will be to do something useful with the aluminum.  We are also going to find a better source for aluminum to melt - we melted down ~100 cans to get a few big ingots, so it takes alot of time and effort.  We did add Boric Acid to the metal, and it foamed up on the top and seemed to help pull the junk away from the aluminum... but we aren't sure if it also made more of the foamy junk metal or not.  We'll see.  This has been a lot of fun!

Meltin' Metals (part 1)

We collected a few aluminum cans, and after lots of FaceTubing, we thought we'd try melting them down into ingots.

First try was with coal in the forge, while we pounded out some metal.  We cut the top off an old, used up propane tank.  This method was pretty slow but didn't cost anything.  It took us ~30 min to melt a can or two and we lost interest.

Our next attempt was with a #10 can and some ceramic paper.  The paper was off ebay, and we paid ~$6 for 3 sheets.  it took 2 sheets to line the can.  This time we punched a hole in the side of the can for the hand-held propane torch.

This method was MUCH faster - we melted ~30 cans in about 30 minutes.  Cheap, and fast enough it kept our attention this time.


The flame was concentrated on the one side of the crucible.  the heat spread, but not more than half way around.

The cans melted pretty fast, but we were surprised how much garbage was in the metal.  About half of the metal was unusable - and we had to do a lot of skinning off the top.

The ingots we poured into a small muffin tin. They turned out really cool!  You can see some of the 'garbage' metal, too.  Not sure if this is poor-quality aluminum or from all the plastic, etc in the cans.

Great fun, fairly fast, and pretty cheap to do.  $6 for the ceramic paper, $1.50 for the propane, and $2 for the muffin tin.  Worth a try!

Wednesday, February 3, 2016

More Chainsaw Carving

Winter time is slower, colder, and wetter than I'd like, so I try to keep projects and activities waiting for the dark months.  Besides, during the spring, summer, and fall there are so many things to do, no sense in wasting time on writing software, tinkering with electronics, or sewing blankets.

I've spent a few hours chainsaw carving again.  Of course, there is an app for that: https://play.google.com/store/apps/details?id=pgo.talltree.carvefullbear It is helpful to review and goes step-by-step to remind me where to cut... and more importantly, where NOT to cut.


My friend the pro gave me some more Cedar logs, so I'm reloaded for the winter.


You can see the mouth here is way too big... better too much material than not enough.  So it was easy to adjust.


Turned out pretty good, but only whetted my appetite for sawdust and i moved on to another.

Here's the first one...


And here's the second one.  Focus this time was on the face proportions, and the front of the shoulders.


Some burning, some eyeballs (marbles), and some protection...


Chainsaw carving is really, really fun.  If you own a saw, it is worth trying.  And to watch a professional is always a good time.

Check him out - http://www.knotjustabear.com


Android App: WiFi Predator Caller

With the winter trapping and hunting, we've been using a hacked "weasel-ball" toy that we can control over Wi-Fi, and a cheap bluetooth speaker for playing predator calls.

There are a lot of calling apps on Google Play, but we wanted one that was simplified and could play ANY call we wanted.  Also wanted to control the weasel-ball (more about that one later).  Most important: NO advertisements and NO in-app purchases.  I think those two factors ruin most of my app usage.

So, here is the app and how to use it.  It will be on Google Play soon as we get the images done.  There is also a FaceTube video demonstrating it here: https://www.youtube.com/watch?v=8sBtYvp7JSE


The two buttons at the top send Wi-Fi messaging to the decoy, turning it on/off and also lighting a LED on/off for low-light conditions.

The main body of the app displays all the MP3 files in the specified folder, so I can upload all my own calls into the phone.  To play one (or multiple), simply select the filename.  To stop it at any time, touch it again.


The textbox at the bottom is simply the Wi-Fi message sent to the decoy.  Touching the "Send" button sends it, obviously.  We left this message exposed so a user can customize the message to use with ANY other hardware device out there.  There are more and more decoys available, and most do NOT have remote control capability.  It is pretty easy (and cheap) to make them remote control, so I expect we'll see more of them with remote options.  You are carrying your phone already, so why have extra hardware like remote controls?

Simple menu options - the first is "Random Action" which does just that - randomly turns the decoy and LED on/off.


The Settings menu option gives these items.


The command #1 is whatever message you want to send to the Target IP (also specified below).  When you connect to any Wi-Fi device (and that means ANY device), you put in its IP address and then what command you want to send it when you push the first (Snoopy) button.  The 2nd command, "Command #2" is the other message to send to the Wi-Fi when the Snoopy button is UNselected.  Pretty easy.

So in this case, when I push the Snoopy button, i send the Wi-Fi device at "192.168.4.1" the message "GPION" to turn the decoy on.  Pushing the Snoopy button the 2nd time sends the command "GPIOFF" and turns off the decoy.  Easy Peasy.

Ignore the Target ID value - it is for our control of cameras and other hardware while we hunt.  Future app releases will make use of this.

The final textbox is where you specify the location of your MP3 files on the phone.  You can change this as you want.

Pretty simple and that is the way we like it.

NO advertisements!  These adds in all the apps now really are annoying and distracting, especially with fat fingers during a hunt.

NO in-app purchases!  Heaven forbid you accidentally click on an add during a hunt...

Regarding the hardware...


The bluetooth speaker we often use is an inexpensive, waterproof model you can find on eBay for ~$5USD.  They are fairly loud at ~80dB and easy to recharge with a phone's cable.  Keep 3 or 4 of them with you, and scatter them about the field to misdirect the quarry.  To connect and use the speaker, use the phone's Bluetooth settings to connect.  Then, any sound from the phone is directed to the speaker.  BE SURE TO PUT THE PHONE IN PLANE-MODE!!!  A phone ringtone will scuttle the hunt quick ;-)

Connecting to the Wi-Fi controller is similar - use the phone's Wi-Fi settings to scan for your device then attach to it.


Here the decoy is called "BaitTender" because I'm also using it as a decoy at trapping spots.  A cheap PIR detector senses a dog within a wide perimeter, and activates the decoy and call to bring them closer.

Camp Blanket for Winter Camp

We recently made a run to the east side of the state chasing coyotes and exploring in the snow.  Winter camping is my favorite - no bugs, few people, and the weather is already bad so you can't get too disappointed.  Besides, after the 1st day, you acclimate and don't notice it anyway.

Usually we skip the tent and sleep on the ground.  If it is too wet or windy, we'll hit the truck canopy.  This last trip we did both.


Which leads into this latest project - the bedroll.  I've been wanting one of these for years - something light and simple enough to keep the snow and especially the wind out, while not being too big of a deal to setup quickly.

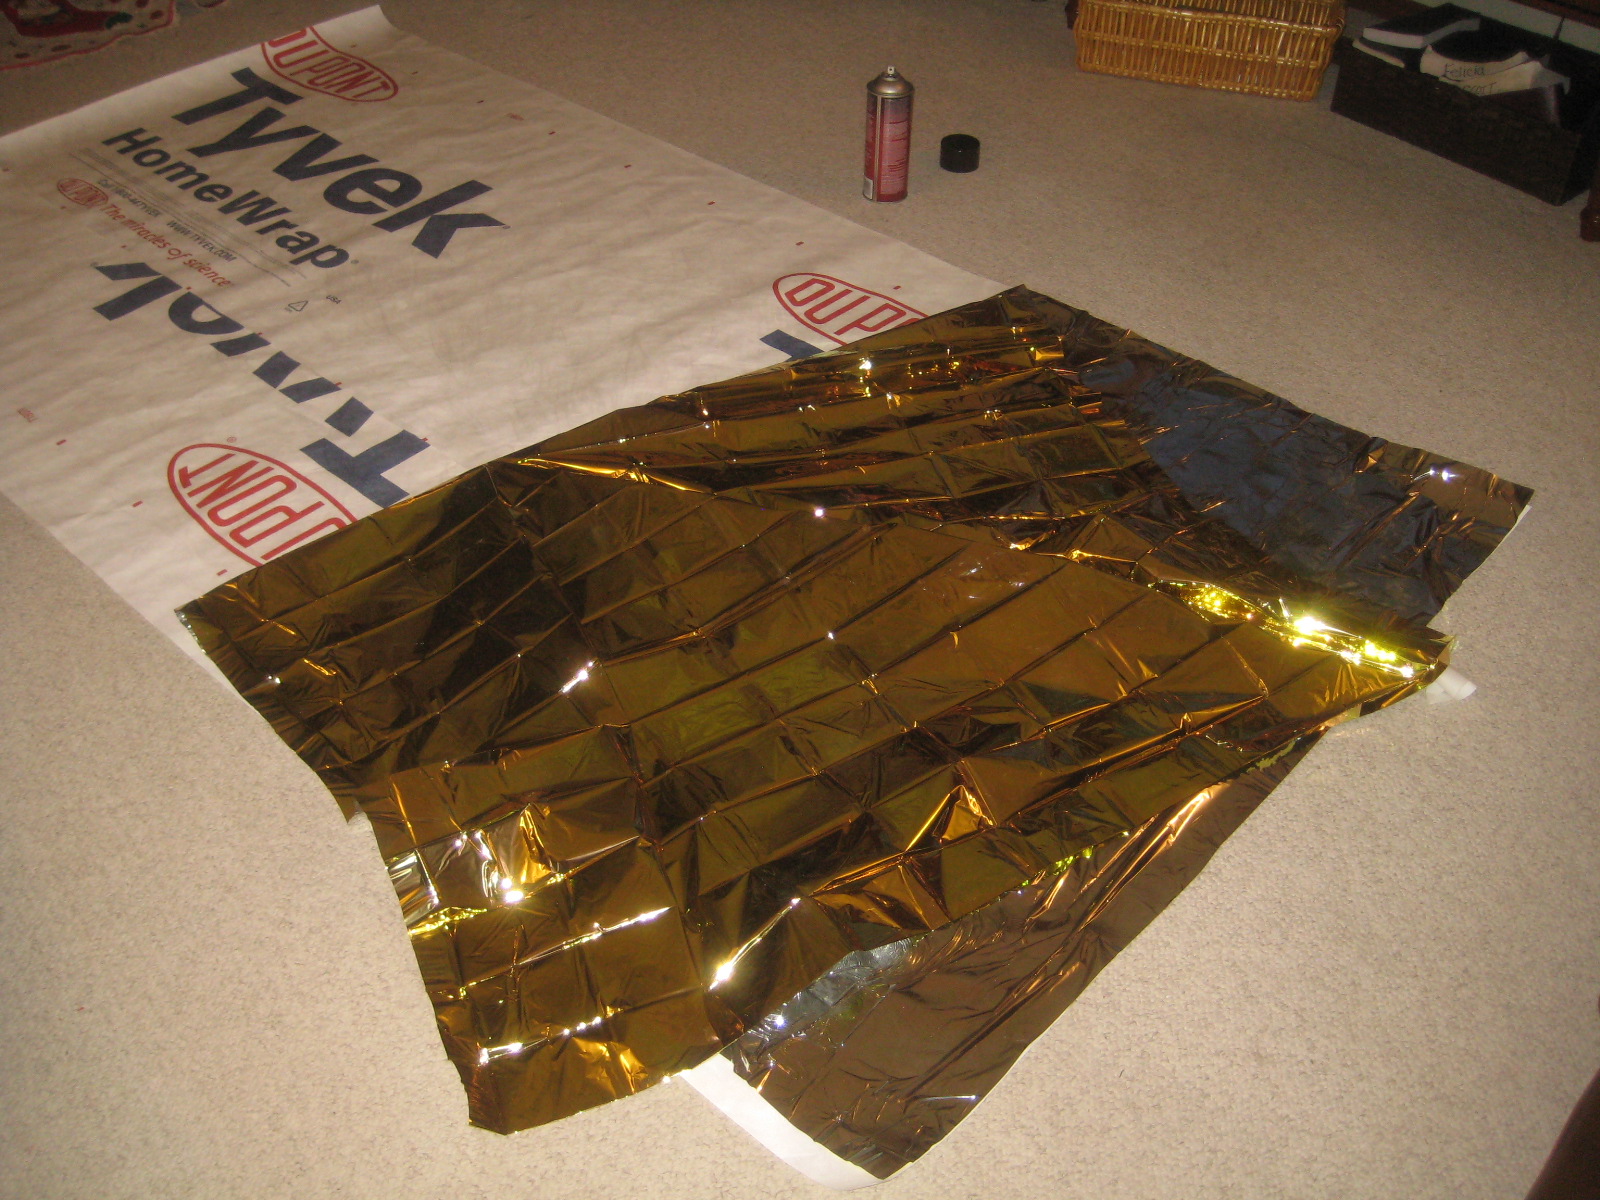
The basics: heavy canvas, with a liner of Tyvek (for waterproofing) and one of those cheap, foil "emergency" blankets that never work very well.
 

The canvas is folded like an envelop, and open on one side to slide in your bag.


The tyvek is laminated to the space blanket using strong, double-sided tape at the corners and a spray adhesive to the blanket.  Easy and works GREAT!


The canvas works awesome to keep the wind from biting through the sleeping bag, and the tyvek/blanket helps keep the heat loss through the ground pad down.

Of course we did some thermal testing too - and the tyvek/space blankie did noticeably well at heat loss redux through the canvas.


Can't wait to get out and use it in the field.

The whole bundle weighs about 6 lbs - too much for a backpack trip, but not bad for winter truck camping over a week.  Setup time is < 30 seconds, making it the clear winner over tent setup.